Today I wanted to fill you in on our basement bathroom. Full disclosure… this bathroom has been a headache since the day we decided to remodel it. I had a clear vision for the whole home (including the kids’ bathroom, which will be a future project) but I could not find inspiration for this last small bathroom. I lost so much sleep over this cave of a space. I wanted it to be high contrast, a fresh take on black and white, fun, playful but not so wild that I would get tired of it in 5 years.
It was clearly a DIY project completed by someone who quite possibly had never remodeled a bathroom before. Here is a look at the original state.
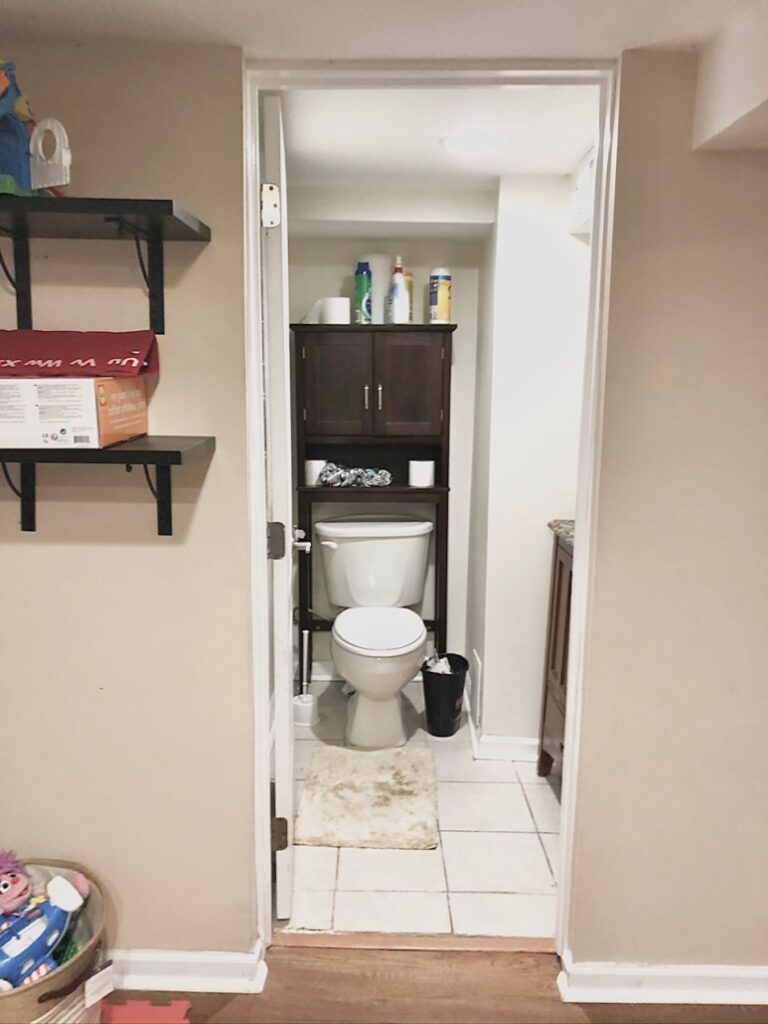
View looking into the bathroom from the living space
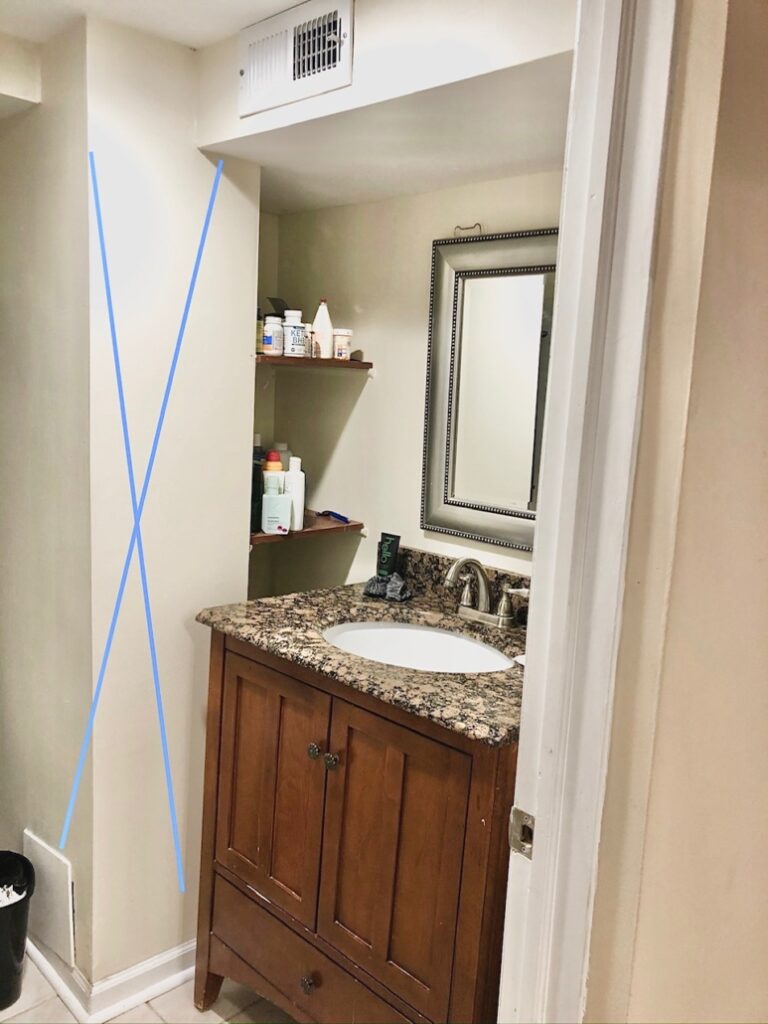
Weird nook we discovered could be eliminated during demo to enlarge the vanity
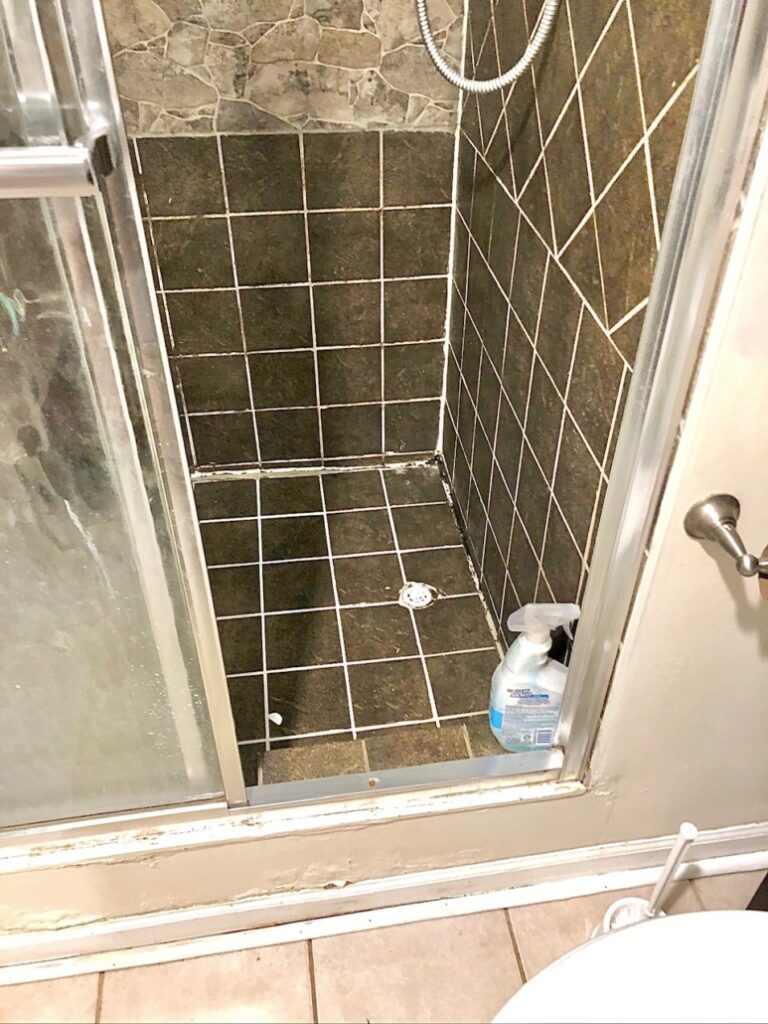
Cave-like shower stall
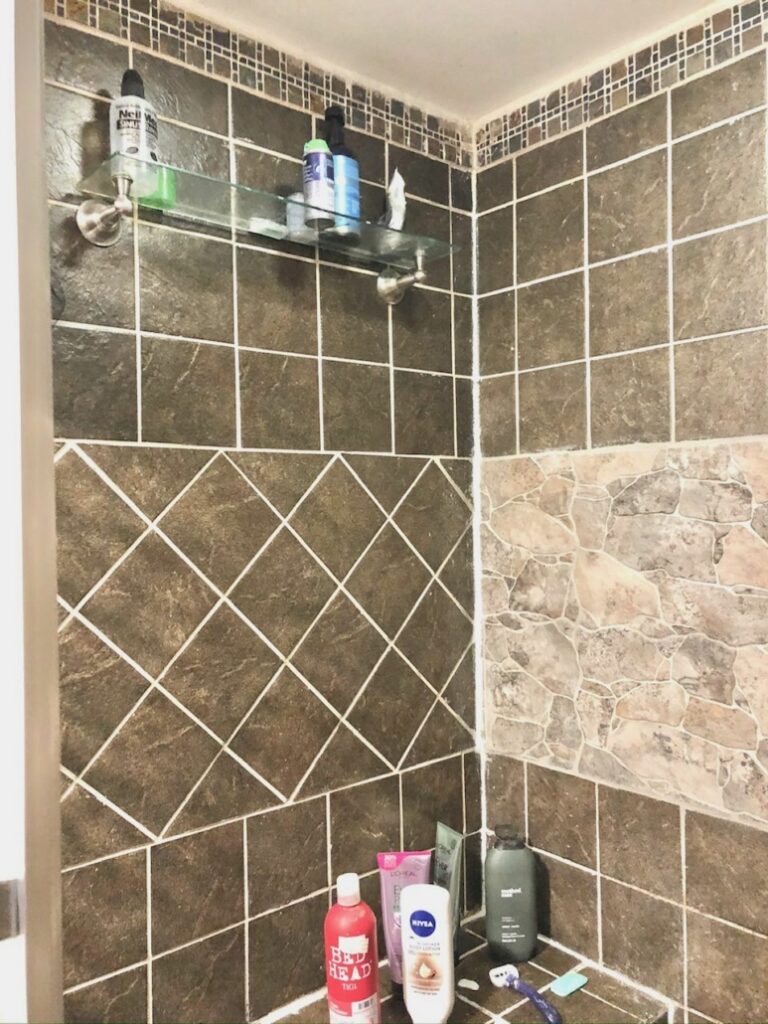
Existing dark shower stall
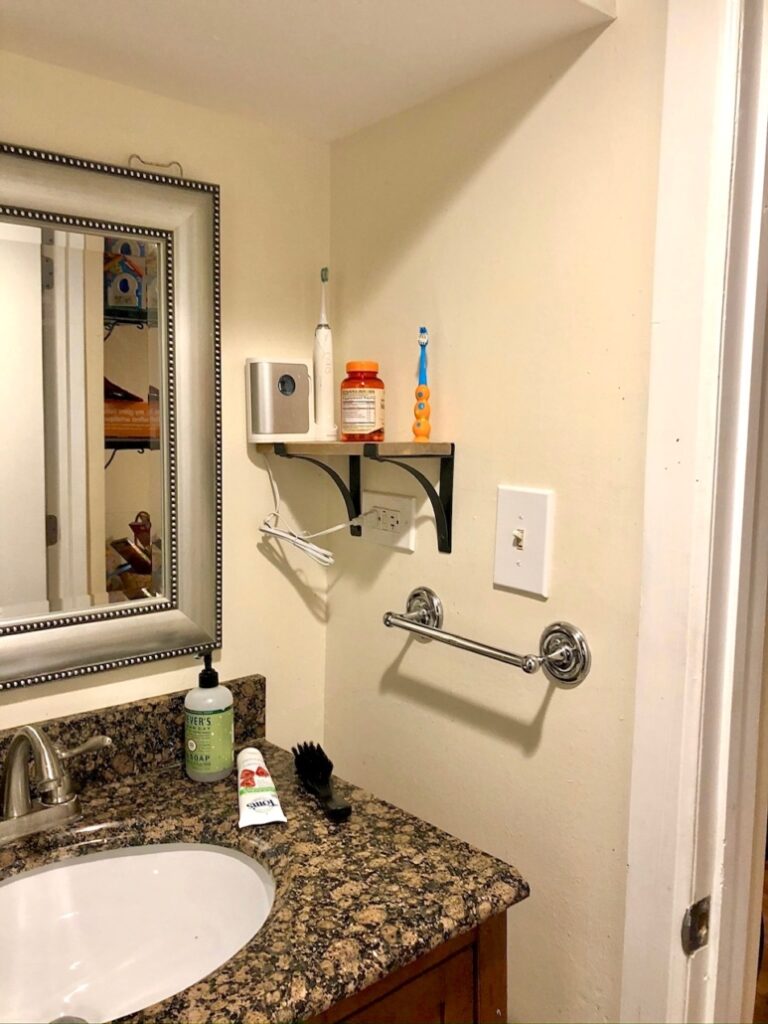
View of vanity before demo
The space was incredibly dark and dingy, with weird cutouts and low ceilings. We are so thankful that we decided to remodel it during phase 1, because during demolition, the plumbers found massive tree roots that had taken over the pipes. We also uncovered a hole where rats were coming into the house under the old shower… the joys of city living! It was wild to see our basement in this state, with roots and debris covering the floors.
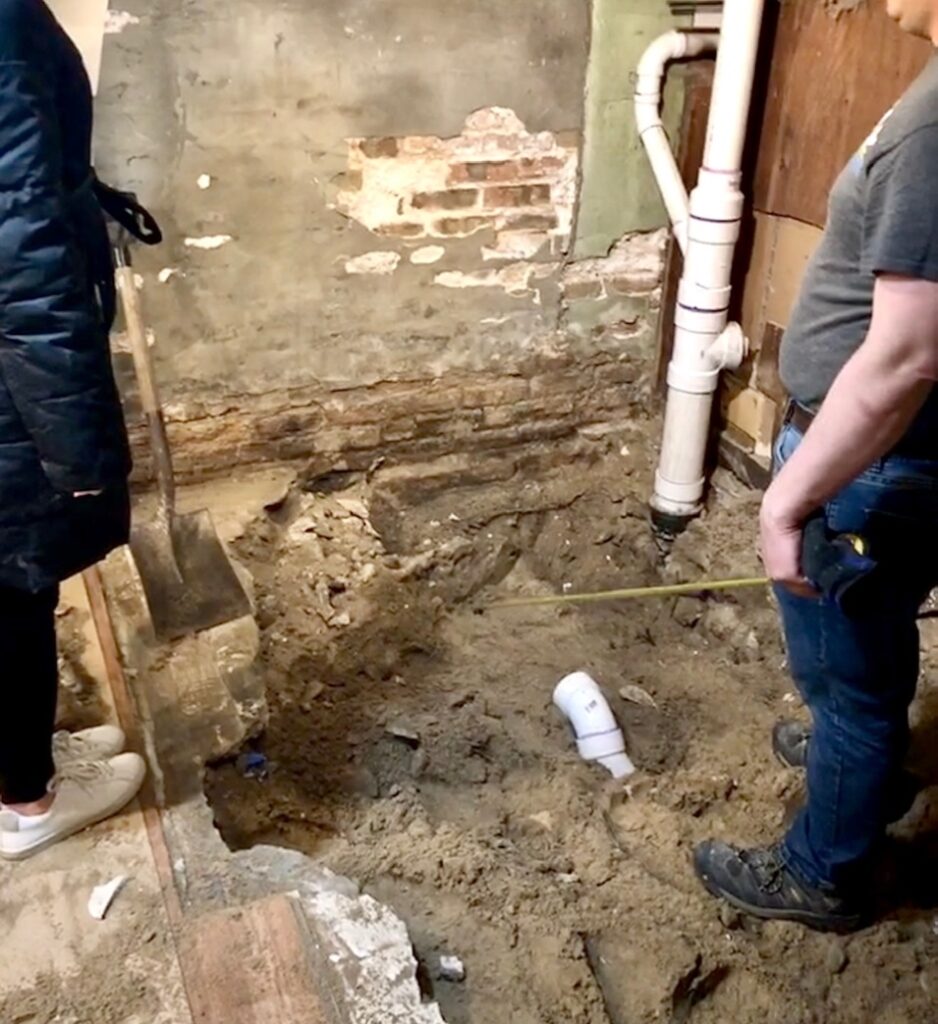
The plumber breaking the news of the tree roots
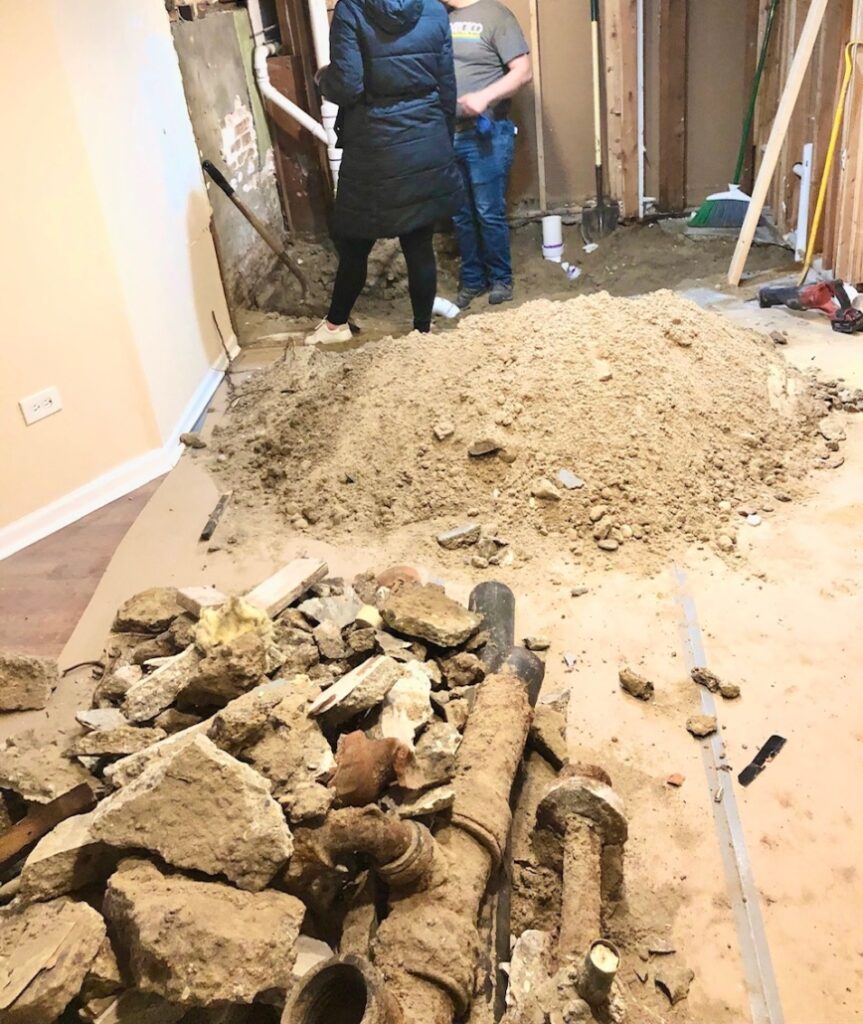
So much debris!
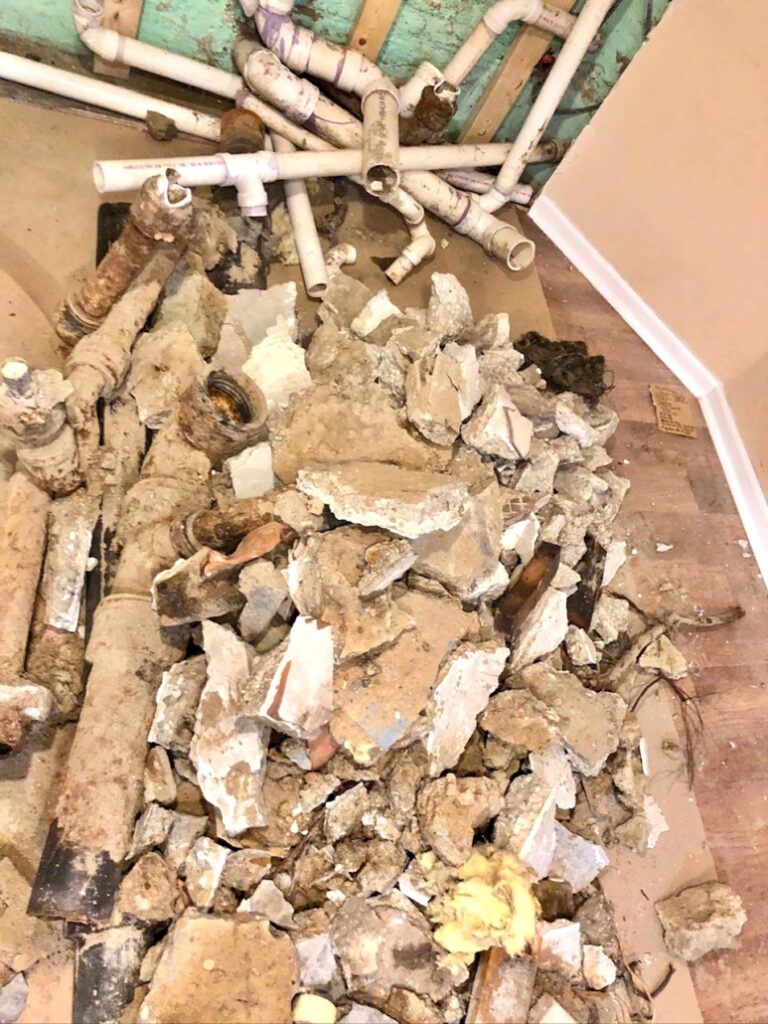
More debris!
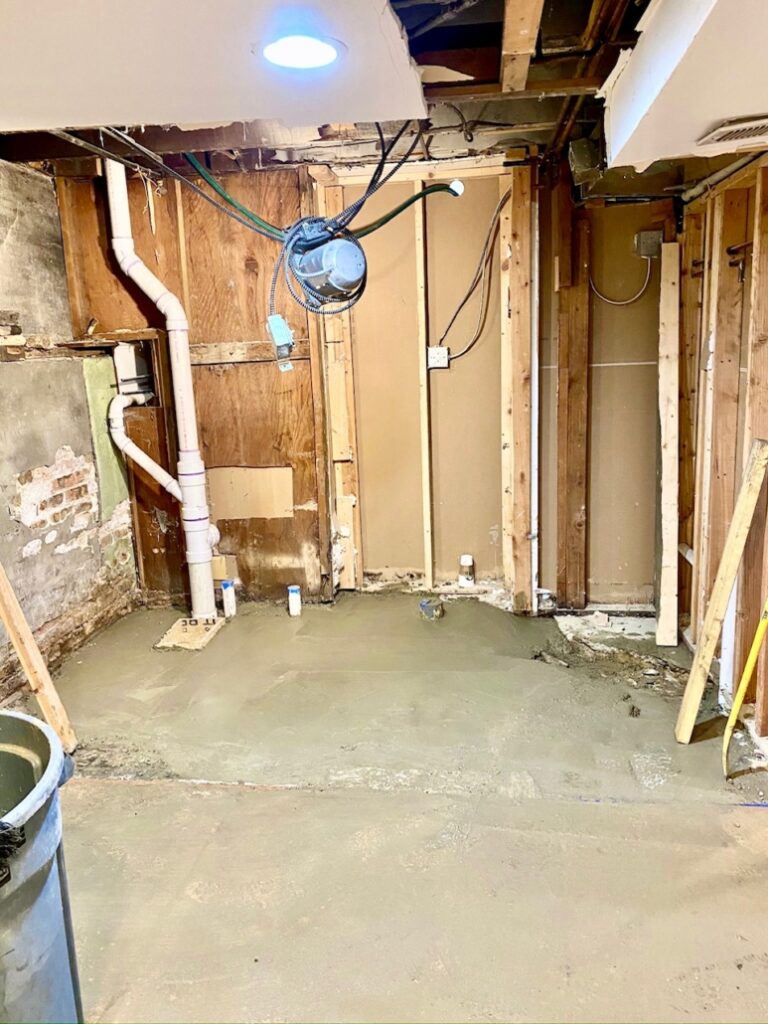
Clean Slate!
The bathroom originally had a shower stall. We went back and forth between installing another shower vs. a tub. In the end, since the wall had to be removed anyways, and we needed to frame out the space, we decided to go with another tub. After all, how amazing will it be to have a dedicated tub for extra dirty jobs like giving baths to extra dirty children and dogs!
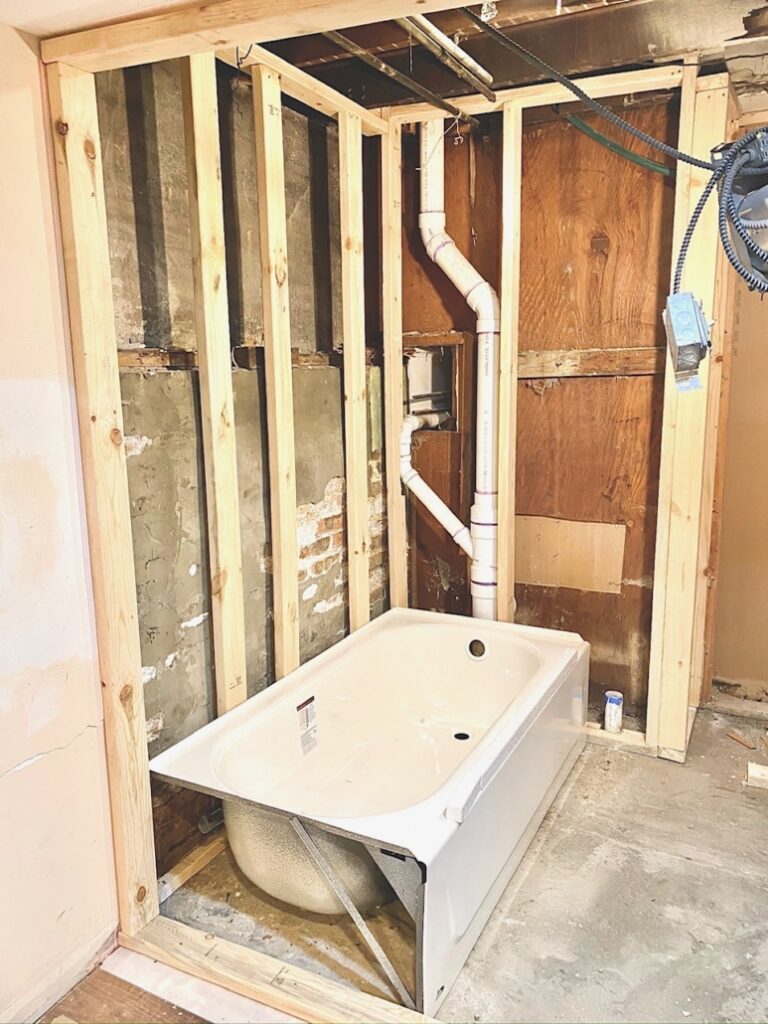
New tub!
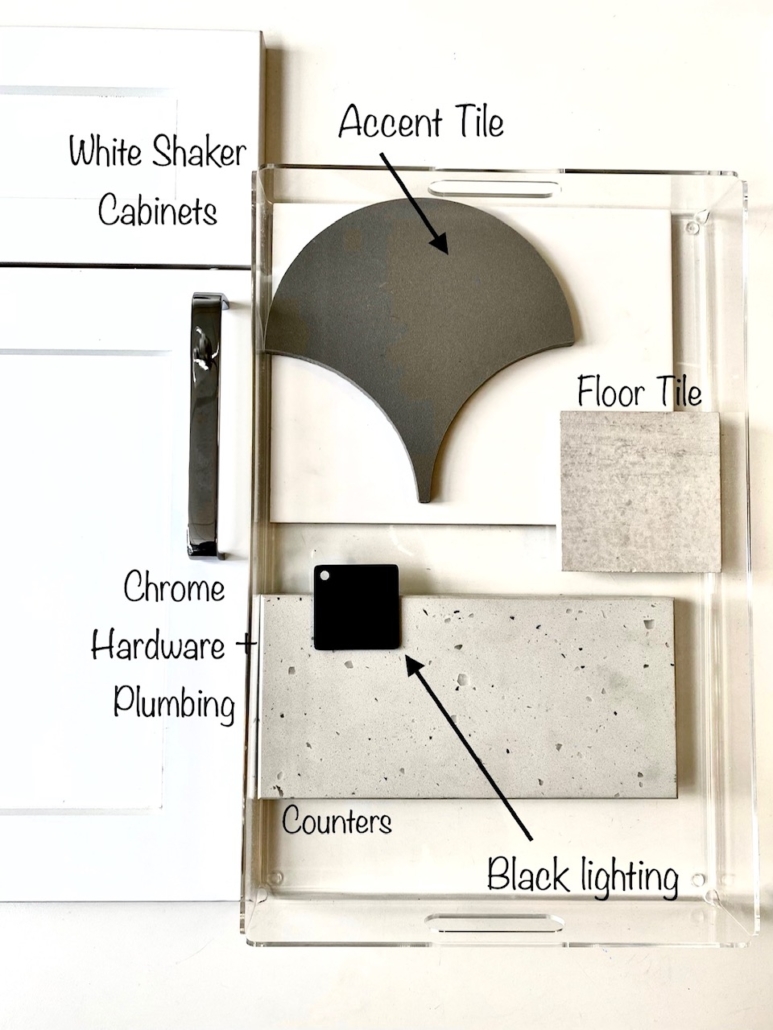
I went through about 34 different finish combinations for the space. After one last change due to COVID stock issues, this is where I landed.
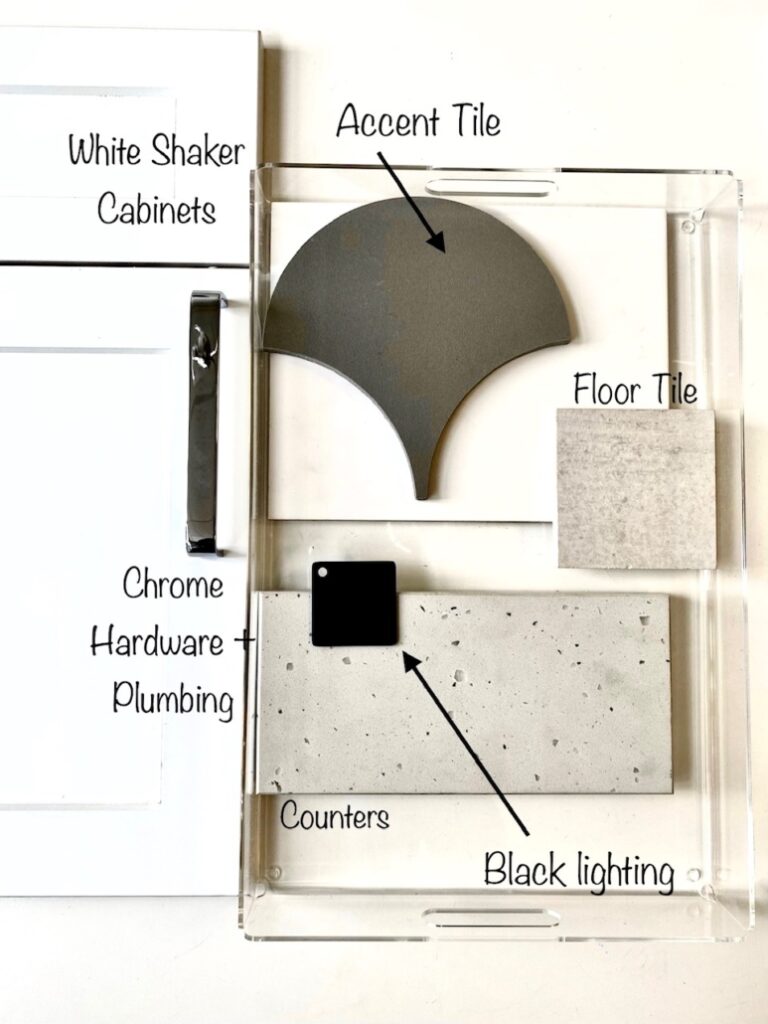
Basement finishes
I’m obsessed with the gray scallop tile. I love the large scale and the playful pattern it adds to the space. I wanted to keep the side walls very simple and let the scallop tile take center stage. For the floor- I loved the idea of a medium scale tile- but again, I didn’t want to compete with the patterned tub wall. I decided to go with a light 12”x24” tile and have it cut down to 6”x12” pieces onsite. 6”x12” stocked floor tiles are nearly impossible to find. My tile installer was not thrilled with the extra work, but it was worth it! I had the tile installed in a basketweave pattern. It is perfect for the space.
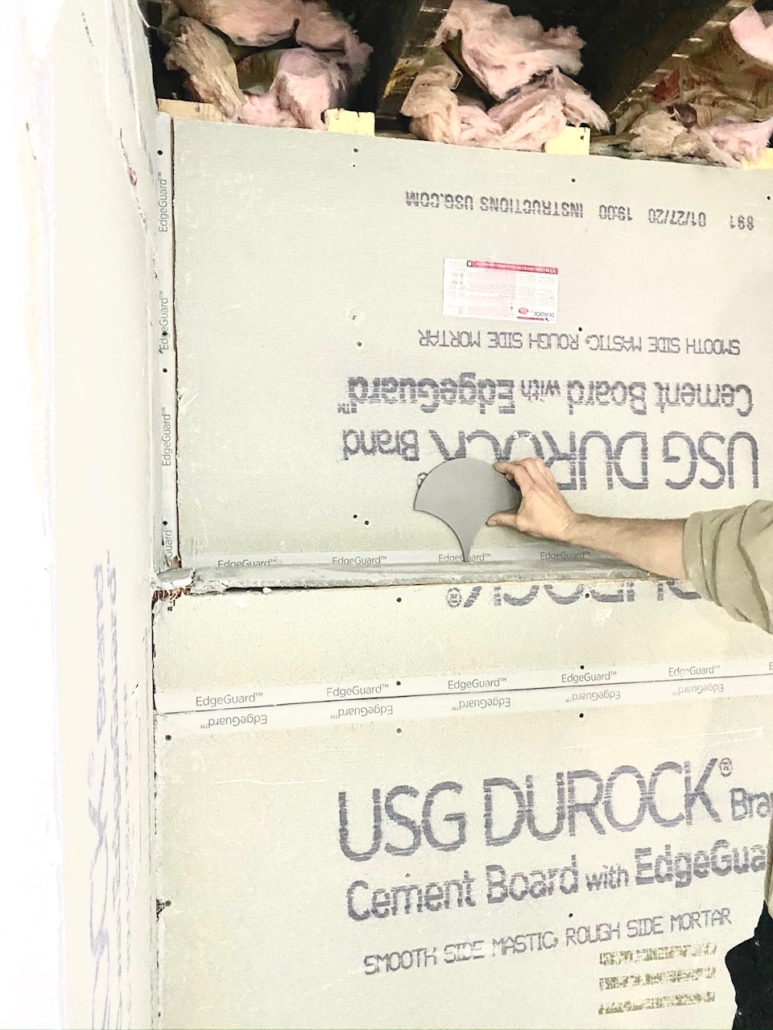
Walking the tile installer through my vision
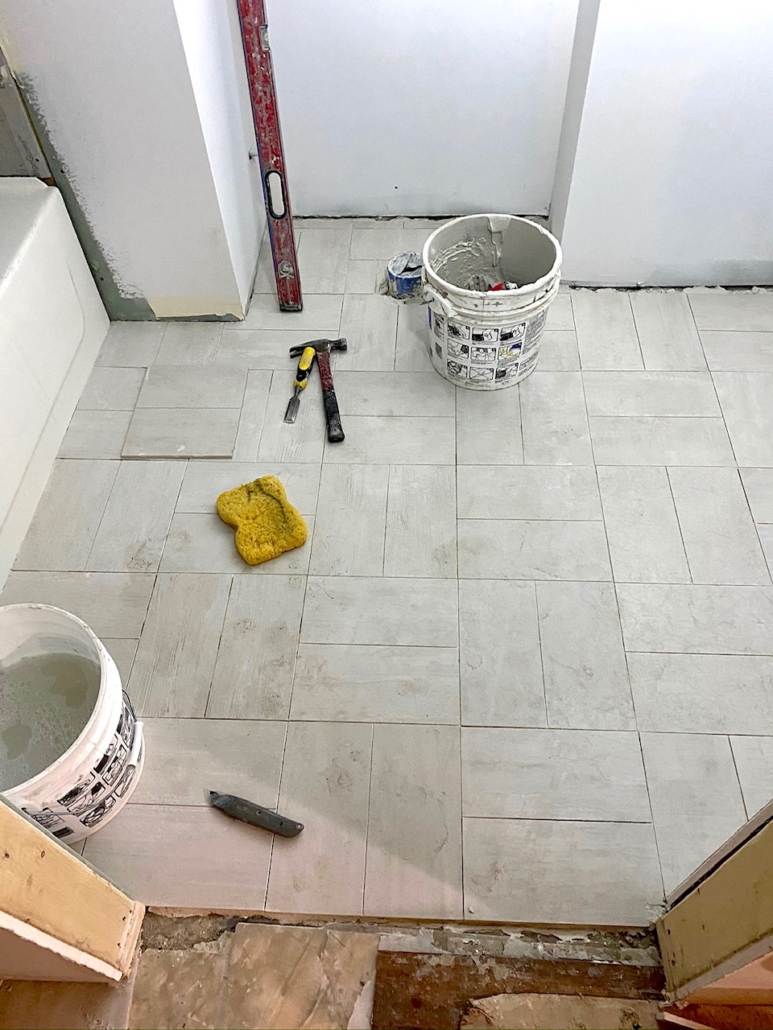
The 6″x12″ basketweave pattern
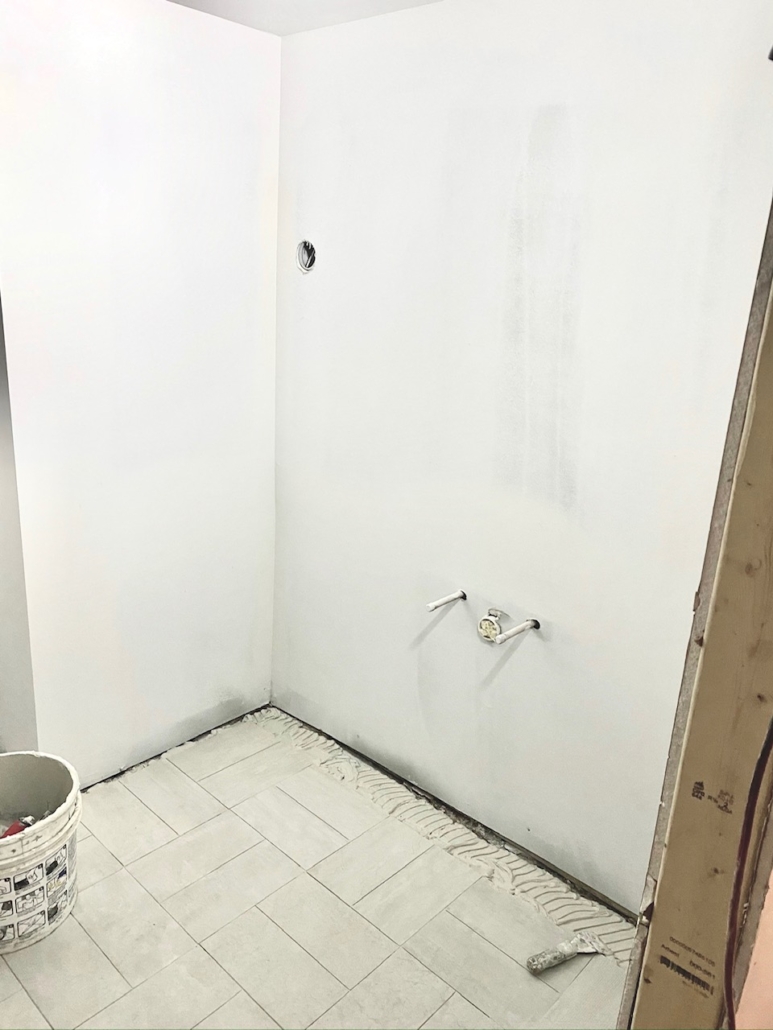
Future (larger) vanity placement
During the demo, we found a ledge in the foundation wall that I knew I could take advantage of. We followed this foundation line to create a wall to wall ledge in the tub. I love how it adds storage to the tub and makes the space feel larger. After so many unhappy surprises, I was thankful for one good one.
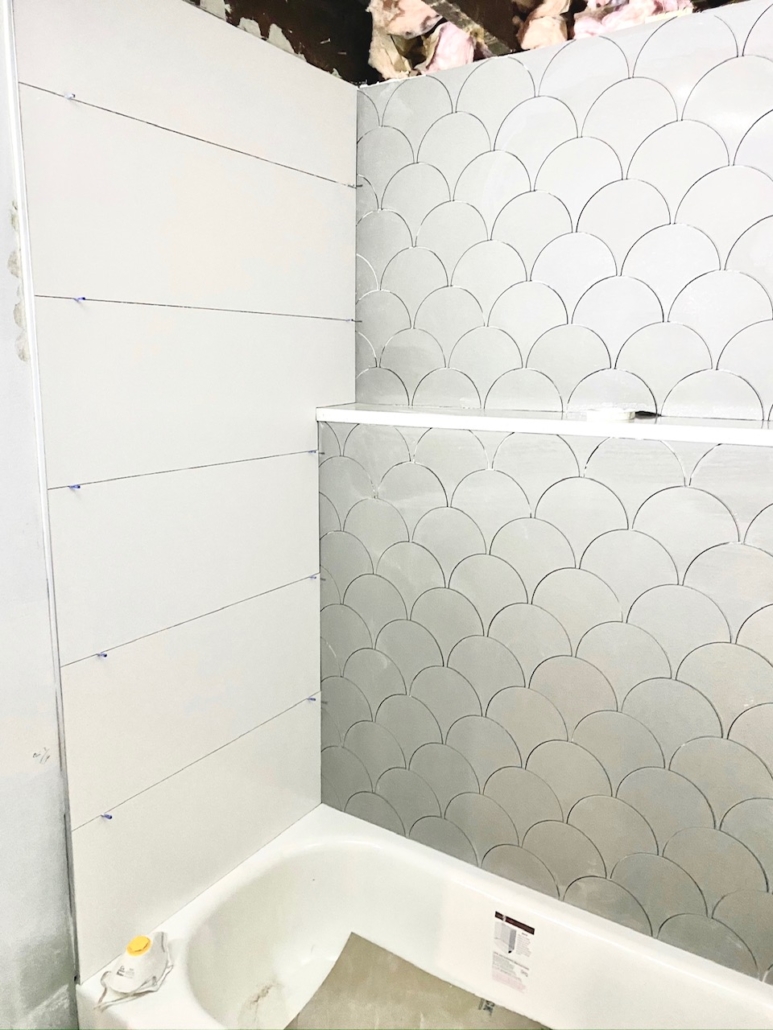
The new wall to wall ledge
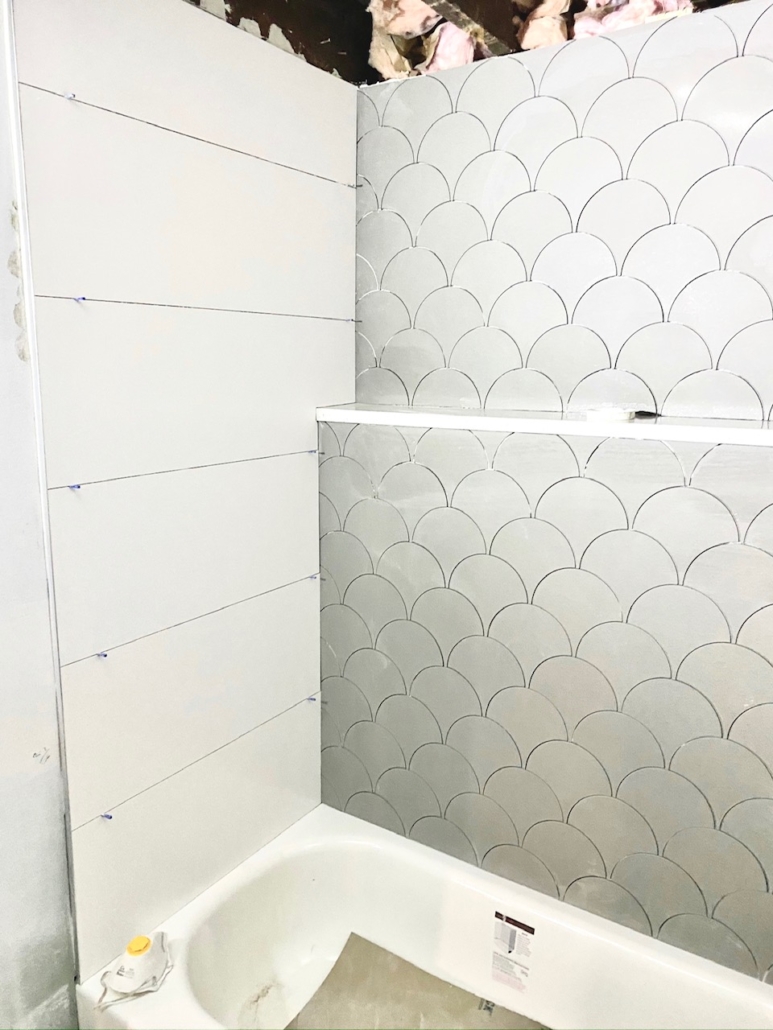
Accent tile
I can’t wait to share photos of this finished bathroom with you. It was worth the headaches and will be a heavily used space for years to come.

